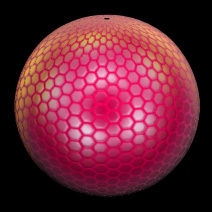
MiniTutorial: Texturing a Compound Eye in Animation:Master
To texture an insect or compound eye, start with a tessellating hexagonal pattern like this one:
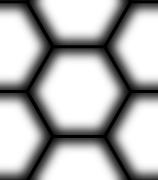
Select your eye group, Right Click it, and add the image to the group. It’ll default to a color application of the image, but you should change it to “Bump”. Alter the “Repeat X and Y” values as necessary for your model (to tile it more).
Add the same image three more times to the Group (Right Click on the Images folder created beneath your group): once as Specular Size, once as Specular Intensity, and once as Reflectivity. Tile them all in the same way that you did the first image. The Specular Size and Intensity I left at 100 but dropped the Reflectivity down to 20.
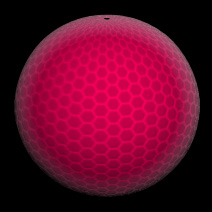
Create a new Material and add it to the same group. Change the Attribute to a Gradient Combiner. Zero out the Start and End Positions and change the Edge Threshold to about 30. Make the bottom Attribute a bright color and the top Attribute a darker color. This is what it might look like:
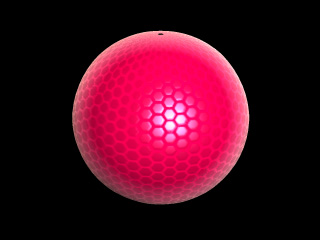
Not bad, but the Specular Highlighting could use some some work. I used Charles Babbage’s technique for creating a Rainbow-like highlight. Here is the image with just the Specular highlighting. Keep in mind, the direction of the light vis a vis the camera makes a difference here. I used an 8 light Skylight Rig from Yves Poissant where all the lights are set only to Specular highlight. All these lights were necessary to create the appropriate highlighting.
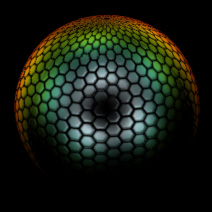
Here is the color pass.
And here they are composited. I didn’t really have to composite them, but I did for the sake of illustrating how dramatic the specular effect can be.
